.jpg)
Here’s a tutorial on how to install snap buttons. The tool set shown is called Mini Anorak Snaps & Tools Kit by Dritz. The snap button size is 12mm and can be found at any craft store or online. The package instructions can be confusing so I made this tutorial as an added visual on how to install the hardware onto your projects. I hope you find this helpful. 🤓✨
In addition to the snaps kit, you will also need:
.jpg)
It is very helpful to lay out your hardware pieces and label them by these letters. The upper case letters pair together with the lower case letters.
.jpg)
Use your fabric marking pen to mark where the snaps are going to be installed.

Insert your seam ripper and CAREFULLY rip a small hole, just large enough for the hardware to be inserted.

These are the tools you need for the UPPER snap. Insert these parts into the plastic tool kit and use a hammer to tap the top of the plastic tool. It doesn’t take much force to install. If you hit too hard, you flatten the (a) piece and it doesn’t have a pretty round top anymore. (Live and learn… 😞)


Repeat the process for the lower part. Fold over the top and get a really good estimate of where the lower snaps need to go.

Here are the hardware pieces needed for the LOWER part.

And you’re done! 😁✨

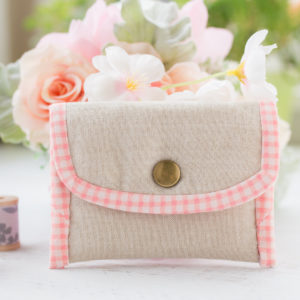
If you would like to make this mini wallet, here is the tutorial for it! Mini Card Wallet – Sewing Tutorial

Have you tried this tutorial? Let me know what you think!


.jpg)


Video DJ - Your tutorial was so helpful. It was well written and the photos were super helpful. Thanks for posting this.February 15, 2018 – 10:58 pm
denise HOSNER - Thank you! I have been so intimidated by snaps until now!!!July 25, 2017 – 12:13 am
Susie - Hi Denise, so happy to help! 🤗July 25, 2017 – 10:01 am